

Interactions
AWS Amplify Interactions category enables AI-powered chatbots in your web or mobile apps. You can use Interactions to configure your backend chatbot provider and to integrate a chatbot UI into your app with just a single line of code.
Ensure you have installed and configured the Amplify CLI and library.
Amazon Lex
AWS Amplify implements Amazon Lex as the default chatbots service. Amazon Lex supports creating conversational bots with the same deep learning technologies that power Amazon Alexa.
Automated Setup
Run the following command in your project’s root folder:
$ amplify add interactions
The CLI will lead you through the steps to specify the chatbot to be created.
You can choose to start from a sample chatbot or start from scratch. If you choose to start from scratch, the CLI will prompt you with a series of questions to set the intents and slots for the chatbot.
You are allowed to run the amplify add interactions command multiple times to add multiple chatbots into your project.
{The Interactions category utilizes the Authentication category behind the scenes to authorize your app to send analytics events.}
The add command automatically creates a backend configuration locally. To update your backend in the cloud, run:
$ amplify push
Upon successful execution of the push command, a configuration file called aws-exports.js will be copied to your configured source directory, for example ./src.
NOTE: If your Interactions resources were created with Amplify CLI version 1.6.4 and below, you will need to manually update your project to avoid Node.js runtime issues with AWS Lambda. Read more
Configure Your App
Import and load the configuration file in your app. It’s recommended you add the Amplify configuration step to your app’s root entry point. For example App.js in React or main.ts in Angular.
import Amplify, { Interactions } from 'aws-amplify';
import awsconfig from './aws-exports';

Amplify.configure(awsconfig);
Click HERE for usage in your app
Manual Setup
Create your Chatbot
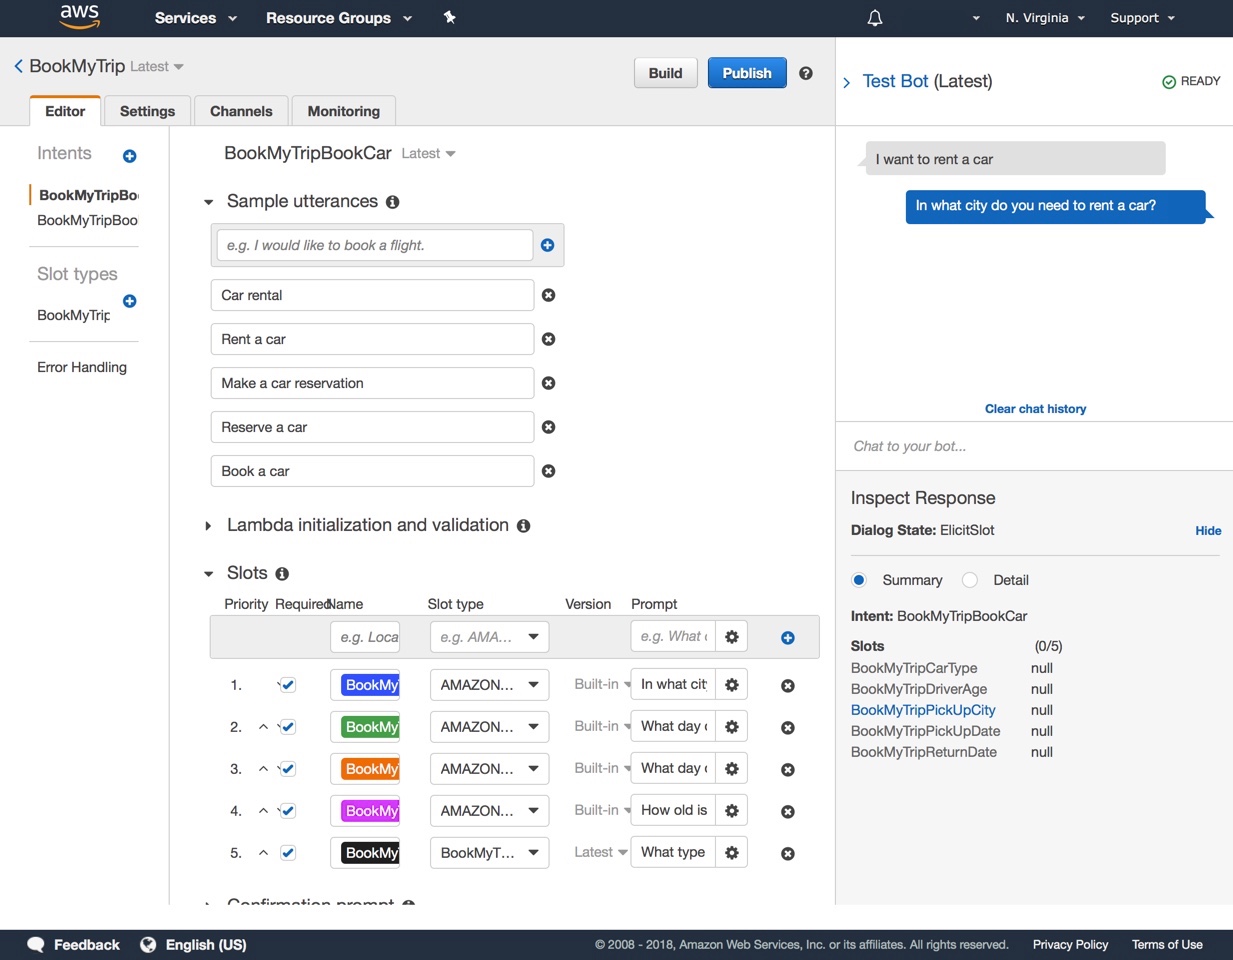
You can create Amazon Lex chatbox in Amazon Lex console. To create your bot, follow the steps shown in Amazon Lex Developer Guide.
With manual setup, you need to provide your auth credentials and bot details to configure your app:
import Amplify from 'aws-amplify';

Amplify.configure({
  Auth: {
    identityPoolId: 'us-east-1:xxx-xxx-xxx-xxx-xxx',
    region: 'us-east-1'
  },
  Interactions: {
    bots: {
      "BookTrip": {
        "name": "BookTrip",
        "alias": "$LATEST",
        "region": "us-east-1",
      },
    }
  }
});
Working with the Interactions API
You can import Interactions module from ‘aws-amplify’ package to work with the API.
import { Interactions } from 'aws-amplify';
send() Method
You can send a text message to chatbot backend with send() command. The method returns a promise that includes the chatbot response.
import { Interactions } from 'aws-amplify';

let userInput = "I want to reserve a hotel for tonight";

// Provide a bot name and user input
const response = await Interactions.send("BookTrip", userInput);

// Log chatbot response
console.log (response.message);
onComplete() Method
You can use onComplete() method to register a function to catch errors or chatbot confirmations when the session successfully ends.
const handleComplete = function (err, confirmation) {
    if (err) {
        alert('bot conversation failed');
        return;
    }
    alert('done: ' + JSON.stringify(confirmation, null, 2));

    return 'Trip booked. Thank you! What would you like to do next?';
}

Interactions.onComplete(botName, handleComplete );
Using UI Components
For React and React Native apps, the simplest way to add a conversational UI into your app is to use our ChatBot Component.
ChatBot automatically renders a complete chat messaging interface that can be used out-of-the-box, or it can be customized using theming support.
Using with React
When using React, you can use ChatBot with following properties;
<ChatBot
    title="My Bot"
    theme={myTheme}
    botName="BookTrip"
    welcomeMessage="Welcome, how can I help you today?"
    onComplete={this.handleComplete.bind(this)}
    clearOnComplete={true}
    conversationModeOn={false}
/>
By default, the ChatBot will allow for only text interaction. You can turn off text interaction by passing prop textEnabled={false} or you can turn on voice interaction by passing prop voiceEnabled={true}. You should not disable both; this will cause no user inputs to be available.
Note: In order for voice input to work with Amazon Lex, you may have to enable Output voice in the AWS Console. Under the Amazon Lex service, click on your configured Lex chatbot and go to Settings -> General and pick your desired Output voice. Then, click Build. If you have forgotten to enable Output voice, you will get an error like this:
ChatBot Error: Invalid Bot Configuration: This bot does not have a Polly voice ID associated with it. For voice interaction with the user, set a voice ID
The conversationModeOn props turns continuous conversation cycle mode on/off for voice interaction. In continuous conversation mode, the user will only have to click the microphone button once to complete a chatbot conversation. This means that the component will detect when the user is done speaking to stop recording, and then send data to interactions provider, and then start recording again when a response is received from the interactions provider. The cycle will stop when the conversation is finished.
If needed, you can also pass voiceConfig in the props to modify the silence detection parameters, like in this example:
const customVoiceConfig = {
    silenceDetectionConfig: {
        time: 2000,
        amplitude: 0.2
    }
}

<ChatBot
    ...
    voiceConfig={customVoiceConfig}
/>
Following simple app shows how to use ChatBot component in a React app, with the automatic setup outlined above;
import React, { Component } from 'react';
import Amplify, { Interactions } from 'aws-amplify';
import { ChatBot, AmplifyTheme } from 'aws-amplify-react';
import awsconfig from './aws-exports';

Amplify.configure(awsconfig);

// Imported default theme can be customized by overloading attributes
const myTheme = {
  ...AmplifyTheme,
  sectionHeader: {
    ...AmplifyTheme.sectionHeader,
    backgroundColor: '#ff6600'
  }
};

class App extends Component {

  handleComplete(err, confirmation) {
    if (err) {
      alert('Bot conversation failed')
      return;
    }

    alert('Success: ' + JSON.stringify(confirmation, null, 2));
    return 'Trip booked. Thank you! what would you like to do next?';
  }

  render() {
    return (
      <div className="App">
        <header className="App-header">
          <h1 className="App-title">Welcome to ChatBot Demo</h1>
        </header>
        <ChatBot
          title="My Bot"
          theme={myTheme}
          botName="BookTrip"
          welcomeMessage="Welcome, how can I help you today?"
          onComplete={this.handleComplete.bind(this)}
          clearOnComplete={true}
          conversationModeOn={false}
        />
      </div>
    );
  }
}

export default App;
Using with React Native
When using React Native, you can use ChatBot with following properties;
<ChatBot
    botName={botName}
    welcomeMessage={welcomeMessage}
    onComplete={this.handleComplete}
    clearOnComplete={false}
    styles={StyleSheet.create({
        itemMe: {
            color: 'red'
        }
    })}
/>
By default, the ChatBot will allow for only text interaction. You can turn off text interaction by passing prop textEnabled={false}.
Turning on voice interaction
To support voice interaction, the React Native ChatBot component requires installation of peer dependencies and linking of Native Modules. The peer dependencies are: react-native-voice, react-native-sound, and react-native-fs.
After installation, link the native modules by running:
react-native link react-native-voice
react-native link react-native-fs
react-native link react-native-sound
Include this import at the top of your App.js
import voiceLibs from 'aws-amplify-react-native/dist/Interactions/ReactNativeModules'
Some configurations of Android will require requesting permissions while others will not - please to refer to the Android docs
iOS will require permissions for NSMicrophoneUsageDescription and NSSpeechRecognitionUsageDescription- you can add this snippet to your Info.plist file for iOS:
<dict>
  ...
  <key>NSMicrophoneUsageDescription</key>
  <string>Description of why you require the use of the microphone</string>
  <key>NSSpeechRecognitionUsageDescription</key>
  <string>Description of why you require the use of the speech recognition</string>
  ...
</dict>
Then, turn on voice interaction by passing voiceEnabled={true} with voiceLibs={voiceLibs} to Chatbot props. Remember not to disable both voice and text input (don’t set both voiceEnabled={false} and textEnabled={false})
In order for voice interaction to work with Amazon Lex, you may have to enable Output voice in the AWS Console. Under the Amazon Lex service, click on your configured Lex chatbot and go to Settings -> General and pick your desired Output voice. Then, click Build. If you have forgotten to enable Output voice, you will get an error like this:
ChatBot Error: Invalid Bot Configuration: This bot does not have a Polly voice ID associated with it. For voice interaction with the user, set a voice ID
You can also configure silenceDelay={customTime} where customTime is the the silence detection time in milliseconds. The default value is 1000.
The conversationModeOn props turns continuous conversation cycle mode on/off for voice interaction.
Here is an example of a configured ChatBot component with voice enabled and conversation mode turned on
<ChatBot
    botName={botName}
    welcomeMessage={welcomeMessage}
    onComplete={this.handleComplete}
    clearOnComplete={false}
    styles={StyleSheet.create({
        itemMe: {
            color: 'red'
        }
    })}
    voiceEnabled={true}
    voiceLibs={voiceLibs}
    conversationModeOn={true}
/>
Following simple app shows how to use ChatBot component in a React Native app;
import React, { Component } from 'react';
import { StyleSheet, Text, SafeAreaView, Alert, StatusBar } from 'react-native';
import Amplify from 'aws-amplify';
import { ChatBot } from 'aws-amplify-react-native';

import awsconfig from './aws-exports';

Amplify.configure(awsconfig);

const styles = StyleSheet.create({
  container: {
      flex: 1,
      backgroundColor: '#fff',
      alignItems: 'center',
      justifyContent: 'center',
      paddingTop: StatusBar.currentHeight,
  },
});

export default class App extends Component {

    state = {
        botName: 'BookTrip',
        welcomeMessage: 'Welcome, what would you like to do today?',
    };

    constructor(props) {
        super(props);
        this.handleComplete = this.handleComplete.bind(this);
    }

    handleComplete(err, confirmation) {
        if (err) {
        Alert.alert('Error', 'Bot conversation failed', [{ text: 'OK' }]);
        return;
        }

        Alert.alert('Done', JSON.stringify(confirmation, null, 2), [{ text: 'OK' }]);

        this.setState({
        botName: 'BookTrip',
        });

        return 'Trip booked. Thank you! what would you like to do next?';
    }

    render() {
        const { botName, showChatBot, welcomeMessage } = this.state;

        return (
        <SafeAreaView style={styles.container}>
            <ChatBot
            botName={botName}
            welcomeMessage={welcomeMessage}
            onComplete={this.handleComplete}
            clearOnComplete={false}
            styles={StyleSheet.create({
                itemMe: {
                color: 'red'
                }
            })}
            />
        </SafeAreaView>
        );
    }

}
Using with Angular and Ionic
Please see Angular and Ionic documentation for Interactions UI components.
API Reference
For the complete API documentation for Interactions module, visit our API Reference