

Push Notifications
AWS Amplify Push Notifications module allows you to integrate push notifications in your app with Amazon Pinpoint targeting and campaign management support.
Push Notifications are currently supported only for React Native. For handling Web Push Notification with Service Workers, visit our Service Workers Guide.
This guide provides a step-by-step introduction to start working with push notifications in React Native with Amazon Pinpoint. Amazon Pinpoint helps you to monitor your app’s usage, create messaging campaigns targeted to specific user segments or demographics, and collect interaction metrics with push notifications.
Ensure you have installed and configured the Amplify CLI and library.
Installation and Configuration
Setup instructions are provided for Android and iOS, and configuration for both platforms can be included on the same React Native project.
Requirements
- In order to use Amazon Pinpoint you need to setup credentials (keys or certificates) for your targeted mobile platform; e.g.:Android and/or iOS.
- Testing Push Notifications requires a physical device, because simulators or emulators wont’ be able to handle push notifications.
- Push Notification module is integrated with AWS Amplify Analytics module to be able to track notifications. Make sure that you have configured the Analytics module in your app before configuring Push Notification module.
- For setting up iOS push notifications, you need to download and install Xcode from Apple Developer Center.
Setup for Android
-
Make sure you have a Firebase Project and app setup.
-
Get your push messaging credentials for Android in Firebase console. Click here for instructions.
-
Create a native link on a React Native app:
 $ react-native init myapp
 $ cd myapp
 $ npm install aws-amplify && npm install @aws-amplify/pushnotification
 $ react-native link @aws-amplify/pushnotification
 $ react-native link amazon-cognito-identity-js # link it if you need to Sign in into Cognito user pool
That would install required npm modules and link React Native binaries.
Please note that linking
aws-amplify-react-nativebut not completing the rest of the configuration steps could break your build process. Please be sure that you have completed all the steps before you build your app. -
Add your push messaging credentials (API key and Sender ID) with Amplify CLI by using the following commands:
 $ cd myapp
 $ amplify init
 $ amplify add notifications
 $ amplify push
Choose FCM when promoted:
 ? Choose the push notification channel to enable.
 APNS
 ❯ FCM
 Email
 SMS
The CLI will prompt for your Firebase credentials, enter them respectively.
Alternatively you can set up Android push notifications in Amazon Pinpoint Console. Click here for instructions.
-
Enable your app in Firebase. To do that, follow those steps:
- Visit the Firebase console, and click the Gear icon next to Project Overview and click Project Settings Remember, if you don’t have an existing project, you need to create one in order to continue
- Click Add App, if you have an existing app you can skip this step
- Choose Add Firebase to your Android App
- Add your package name i.e. com.myProjectName and click Register App
- Download google-services.json file and copy it under your
android/appproject folder.
Note: Please make sure you have this file in place or you won’t pass the build process.
-
Open android/build.gradle file and perform following edits:
- Add classpath ‘com.google.gms:google-services:3.2.0’ in the
dependenciesunder buildscript:
     dependencies {
         classpath 'com.android.tools.build:gradle:2.2.3'
         classpath 'com.google.gms:google-services:3.2.0'

         // NOTE: Do not place your application dependencies here; they belong
         // in the individual module build.gradle files
     }
Also update maven
urlas the following under allprojects > repositories. Revise allprojects to be:allprojects { repositories { mavenLocal() jcenter() maven { // All of React Native (JS, Obj-C sources, Android binaries) is installed from npm url "$rootDir/../node_modules/react-native/android" } maven { url "https://maven.google.com" } } } - Add classpath ‘com.google.gms:google-services:3.2.0’ in the
-
Open android/app/build.gradle and perform following edits:
- Add firebase libs to the
dependenciessection:
dependencies { compile project(':@aws-amplify/pushnotification') .. .. .. compile 'com.google.firebase:firebase-core:12.0.1' compile 'com.google.firebase:firebase-messaging:12.0.1' }- Add following configuration to the bottom of the file:
apply plugin: 'com.google.gms.google-services' - Add firebase libs to the
-
Open android/app/src/main/AndroidManifest.xml file and add the following configuration into
applicationelement.<application ... > <!--[START Push notification config --> <!-- [START firebase_service] --> <service android:name="com.amazonaws.amplify.pushnotification.RNPushNotificationMessagingService"> <intent-filter> <action android:name="com.google.firebase.MESSAGING_EVENT"/> </intent-filter> </service> <!-- [END firebase_service] --> <!-- [START firebase_iid_service] --> <service android:name="com.amazonaws.amplify.pushnotification.RNPushNotificationDeviceIDService"> <intent-filter> <action android:name="com.google.firebase.INSTANCE_ID_EVENT"/> </intent-filter> </service> <receiver android:name="com.amazonaws.amplify.pushnotification.modules.RNPushNotificationBroadcastReceiver" android:exported="false" > <intent-filter> <action android:name="com.amazonaws.amplify.pushnotification.NOTIFICATION_OPENED"/> </intent-filter> </receiver> <!-- [END Push notification config --> </application> -
Configure Push Notification module for your app as shown in Configure your App section.
-
Run your app with
yarnor with an appropriate run command.$ npm start
Setup for IOS
-
Setup iOS Push Notifications and create a p12 certificate as instructed here in Amazon Pinpoint Developer Guide.
-
Create a native link on a React Native app:
 $ react-native init myapp
 $ cd myapp
 $ npm install
 $ npm install aws-amplify && npm install @aws-amplify/pushnotification
 $ react-native link @aws-amplify/pushnotification
 $ react-native link amazon-cognito-identity-js # link it if you need to Sign in into Cognito user pool
Please note that linking
aws-amplify-react-nativebut not completing the rest of the configuration steps could break your build process. Please be sure that you have completed all the steps before you build your app. -
Enable notifications and add your p12 certificate with Amplify CLI by using the following commands:
 $ cd myapp
 $ amplify init
 $ amplify add notifications
 $ amplify push
Choose APNS when promoted:
 ? Choose the push notification channel to enable.
 > APNS
 FCM
 Email
 SMS
The CLI will prompt for your p12 certificate path, enter it respectively.
-
Open ios/myapp.xcodeproj project file with Xcode.
-
Using Xcode, manually link the
PushNotificationIOSlibrary to your project. Please follow those steps in React Native developer Documentation (Step 3 is not required) -
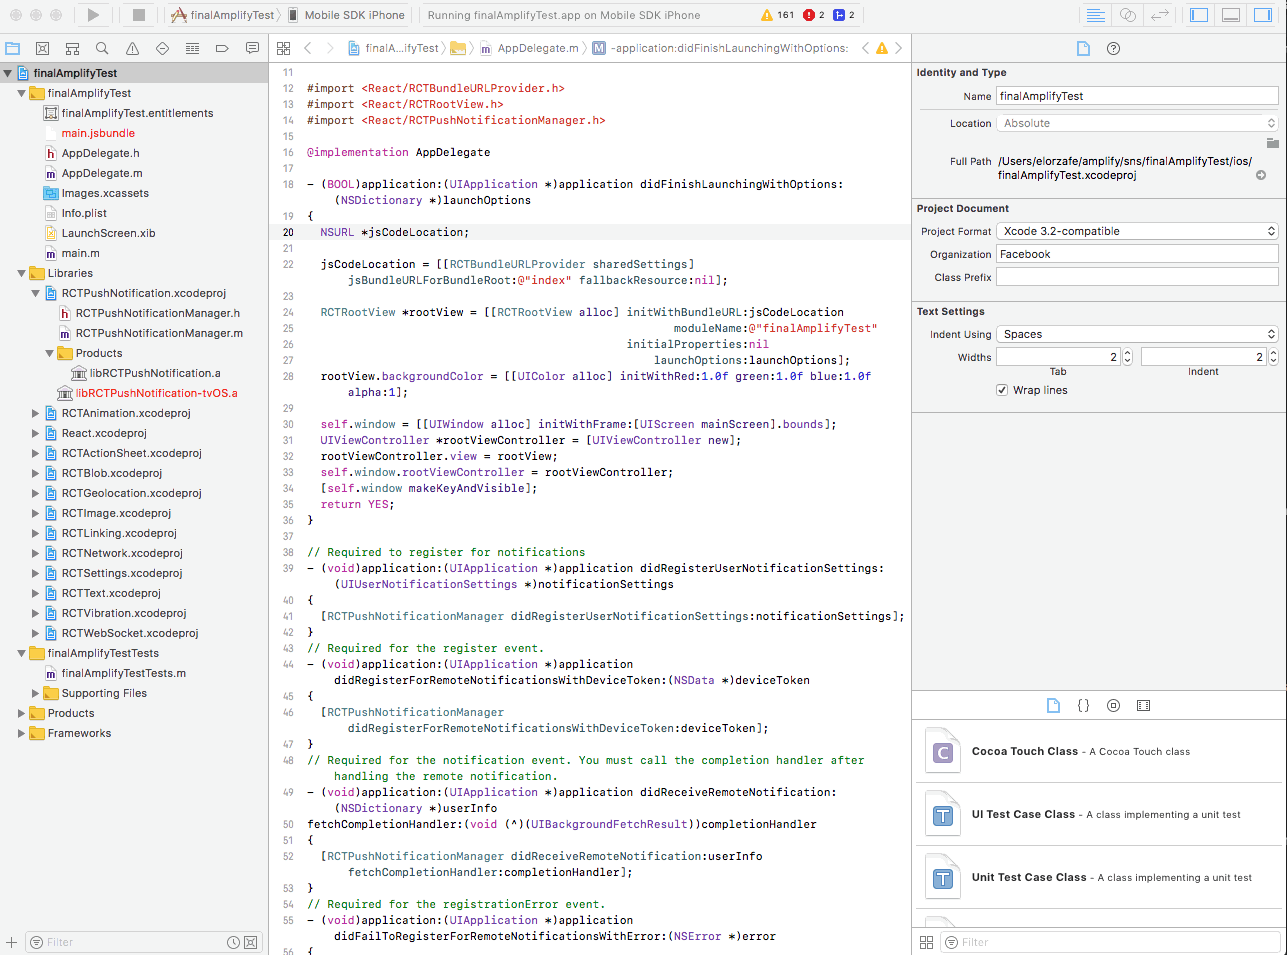
Add the following code at the top on the file AppDelegate.m:
#import <React/RCTPushNotificationManager.h> -
And then in your
AppDelegateimplementation add the following code:// Required to register for notifications - (void)application:(UIApplication *)application didRegisterUserNotificationSettings:(UIUserNotificationSettings *)notificationSettings { [RCTPushNotificationManager didRegisterUserNotificationSettings:notificationSettings]; } // Required for the register event. - (void)application:(UIApplication *)application didRegisterForRemoteNotificationsWithDeviceToken:(NSData *)deviceToken { [RCTPushNotificationManager didRegisterForRemoteNotificationsWithDeviceToken:deviceToken]; } // Required for the notification event. You must call the completion handler after handling the remote notification. - (void)application:(UIApplication *)application didReceiveRemoteNotification:(NSDictionary *)userInfo fetchCompletionHandler:(void (^)(UIBackgroundFetchResult))completionHandler { [RCTPushNotificationManager didReceiveRemoteNotification:userInfo fetchCompletionHandler:completionHandler]; } // Required for the registrationError event. - (void)application:(UIApplication *)application didFailToRegisterForRemoteNotificationsWithError:(NSError *)error { [RCTPushNotificationManager didFailToRegisterForRemoteNotificationsWithError:error]; } // Required for the localNotification event. - (void)application:(UIApplication *)application didReceiveLocalNotification:(UILocalNotification *)notification { [RCTPushNotificationManager didReceiveLocalNotification:notification]; } -
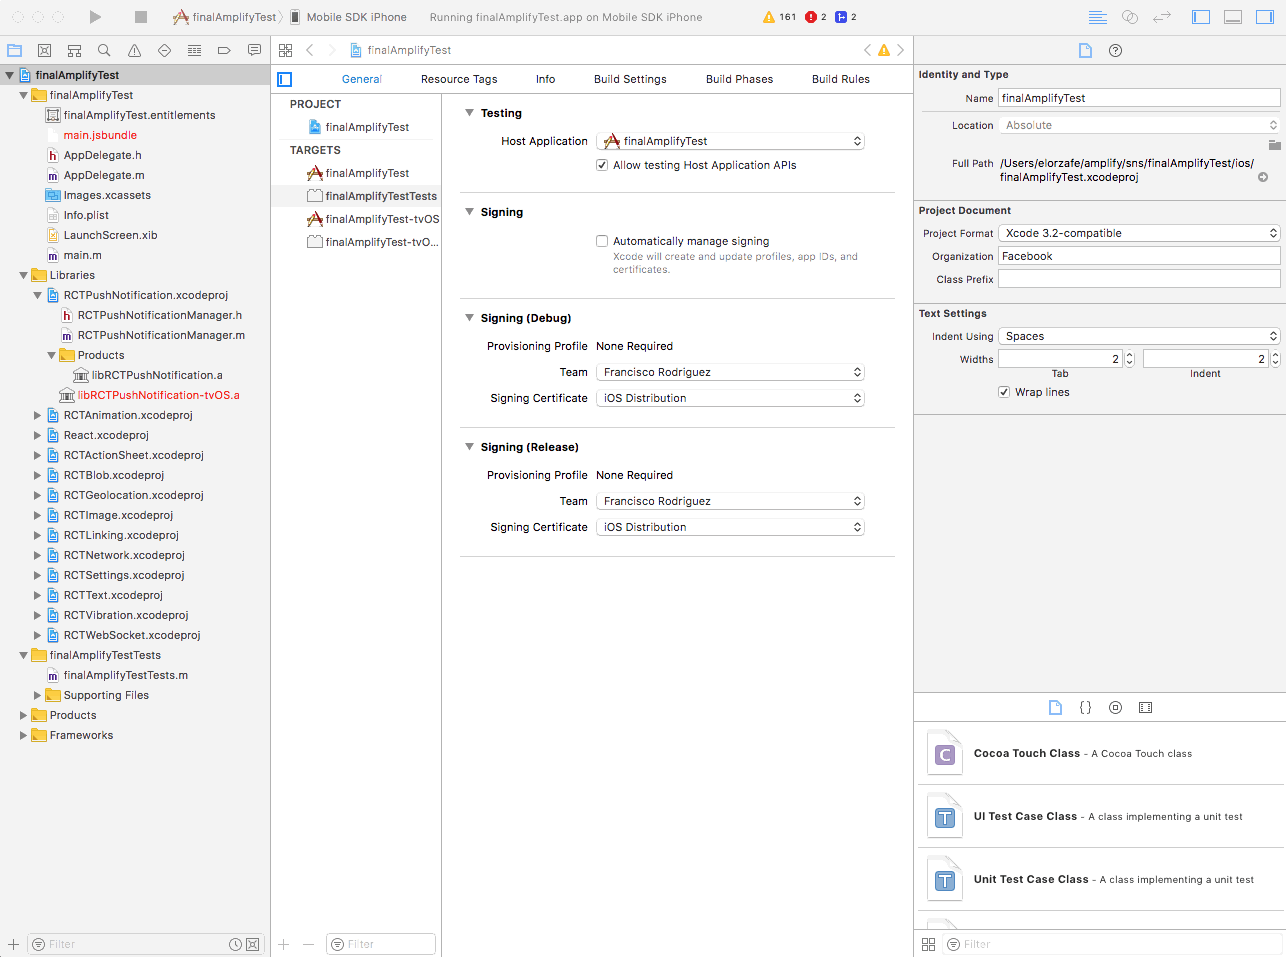
Update General App settings:
- Make sure you have logged in with your Apple Developer account on Xcode
- Set bundle identifier (with the one you create on your Apple Developer Account)
- Unselect Automatically manage signing under Signing section
- On Signing (Debug, Release) set the provisioning profile (created on your Apple Developer Account)
Following screencast shows the required app settings in Xcode:
-
Setup capabilities on your App and enable Push Notifications and Background Modes. On Background Modes select Remote notifications.
Following screencast shows the required app settings in Xcode:
-
Configure Push Notification module for your app as shown in Configure your App section.
-
Run your app:
- On Xcode, select your device and run it first using as Executable appName.app. This will install the App on your device but it won’t run it.
- Select Ask on Launch for Executable option on menu chain Product > Schema > Edit Scheme > Run > Info.
- Click Run button and select your app from the list.
- In case the build fails, try cleaning the project with shift + command + k.
Following screencast shows the required app settings in Xcode:
Configure your App
Push Notification module is integrated with Analytics module to be able to track notifications. Make sure that you have configured the Analytics module in your app before configuring Push Notification module.
If you don’t have Analytics already enabled, see our Analytics Developer Guide to add Analytics to your app.
First, import PushNotification module and configure it with PushNotification.configure().
import { PushNotificationIOS } from 'react-native';
import Analytics from '@aws-amplify/analytics';
import PushNotification from '@aws-amplify/pushnotification';

// PushNotification need to work with Analytics
Analytics.configure({
    // You configuration will come here...
});

PushNotification.configure({
    appId: 'XXXXXXXXXXabcdefghij1234567890ab',
    requestIOSPermissions: false, // OPTIONAL, defaults to true
});
requestIOSPermissions is an optional boolean flag which specifies whether or not to automatically request push notifications permissions in iOS when calling PushNotification.configure for the first time. If not provided, it defaults to true. When set to false, you may later call the method PushNotification.requestIOSPermissions at the explicit point in your application flow when you want to prompt the user for permissions.
You can also use aws-exports.js file in case you have set up your backend with Amplify CLI.
import { PushNotificationIOS } from 'react-native';
import Analytics from '@aws-amplify/analytics';
import PushNotification from '@aws-amplify/pushnotification';
import aws_exports from './aws-exports';

// PushNotification need to work with Analytics
Analytics.configure(aws_exports);

PushNotification.configure(aws_exports);
Working with the API
You can use onNotification, onRegister and onNotificationOpened event handlers to work with push notifications in your app:
// get the notification data when notification is received
PushNotification.onNotification((notification) => {
  // Note that the notification object structure is different from Android and IOS
  console.log('in app notification', notification);

  // required on iOS only (see fetchCompletionHandler docs: https://facebook.github.io/react-native/docs/pushnotificationios.html)
  notification.finish(PushNotificationIOS.FetchResult.NoData);
});

// get the registration token
// This will only be triggered when the token is generated or updated.
PushNotification.onRegister((token) => {
  console.log('in app registration', token);
});

// get the notification data when notification is opened
PushNotification.onNotificationOpened((notification) => {
    console.log('the notification is opened', notification);
});
Note: the onRegister handler will only be triggered once when the token is generated or updated by the push provider i.e. Apple/Google (and when the app opened the first time).
If you have configured your application not to automatically request iOS push notification permissions, you can use the requestIOSPermissions method to request them explicitly:
// request iOS push notification permissions
PushNotification.requestIOSPermissions();

// request a subset of iOS push notification permissions
PushNotification.requestIOSPermissions({
  alert: true,
  badge: true,
  sound: false,
});
Testing Push Notifications
Now, you can create messaging campaigns and send push notifications to your app with Amazon Pinpoint! Just follow these instructions on Amazon Pinpoint Developer Guide for the next steps.